Getting into leathercraft can feel overwhelming—but it doesn’t have to be.
Most beginners get stuck because they try to learn everything at once. The smarter way is simple: pick one project, buy only what you need, and learn the core skills as you go.
This guide gives you exactly that—a clear starting path, a no-waste tool list, and your first project laid out step-by-step.
Quick Start: What to Buy and What to Make First
If you ignore everything else in this guide, follow this:
If you only do three things this week
- Pick one simple project (keychain or card holder)
- Buy a minimal tool setup (not a kit)
- Use vegetable-tanned leather in a beginner-friendly thickness
That alone is enough to get started.
The one beginner mistake that wastes the most money
Buying a giant “starter kit.”
Most kits are filled with tools you won’t use and low-quality versions of tools you will use. You end up replacing everything anyway.
A small, intentional setup beats a big cheap kit every time.
Your first project in one sentence
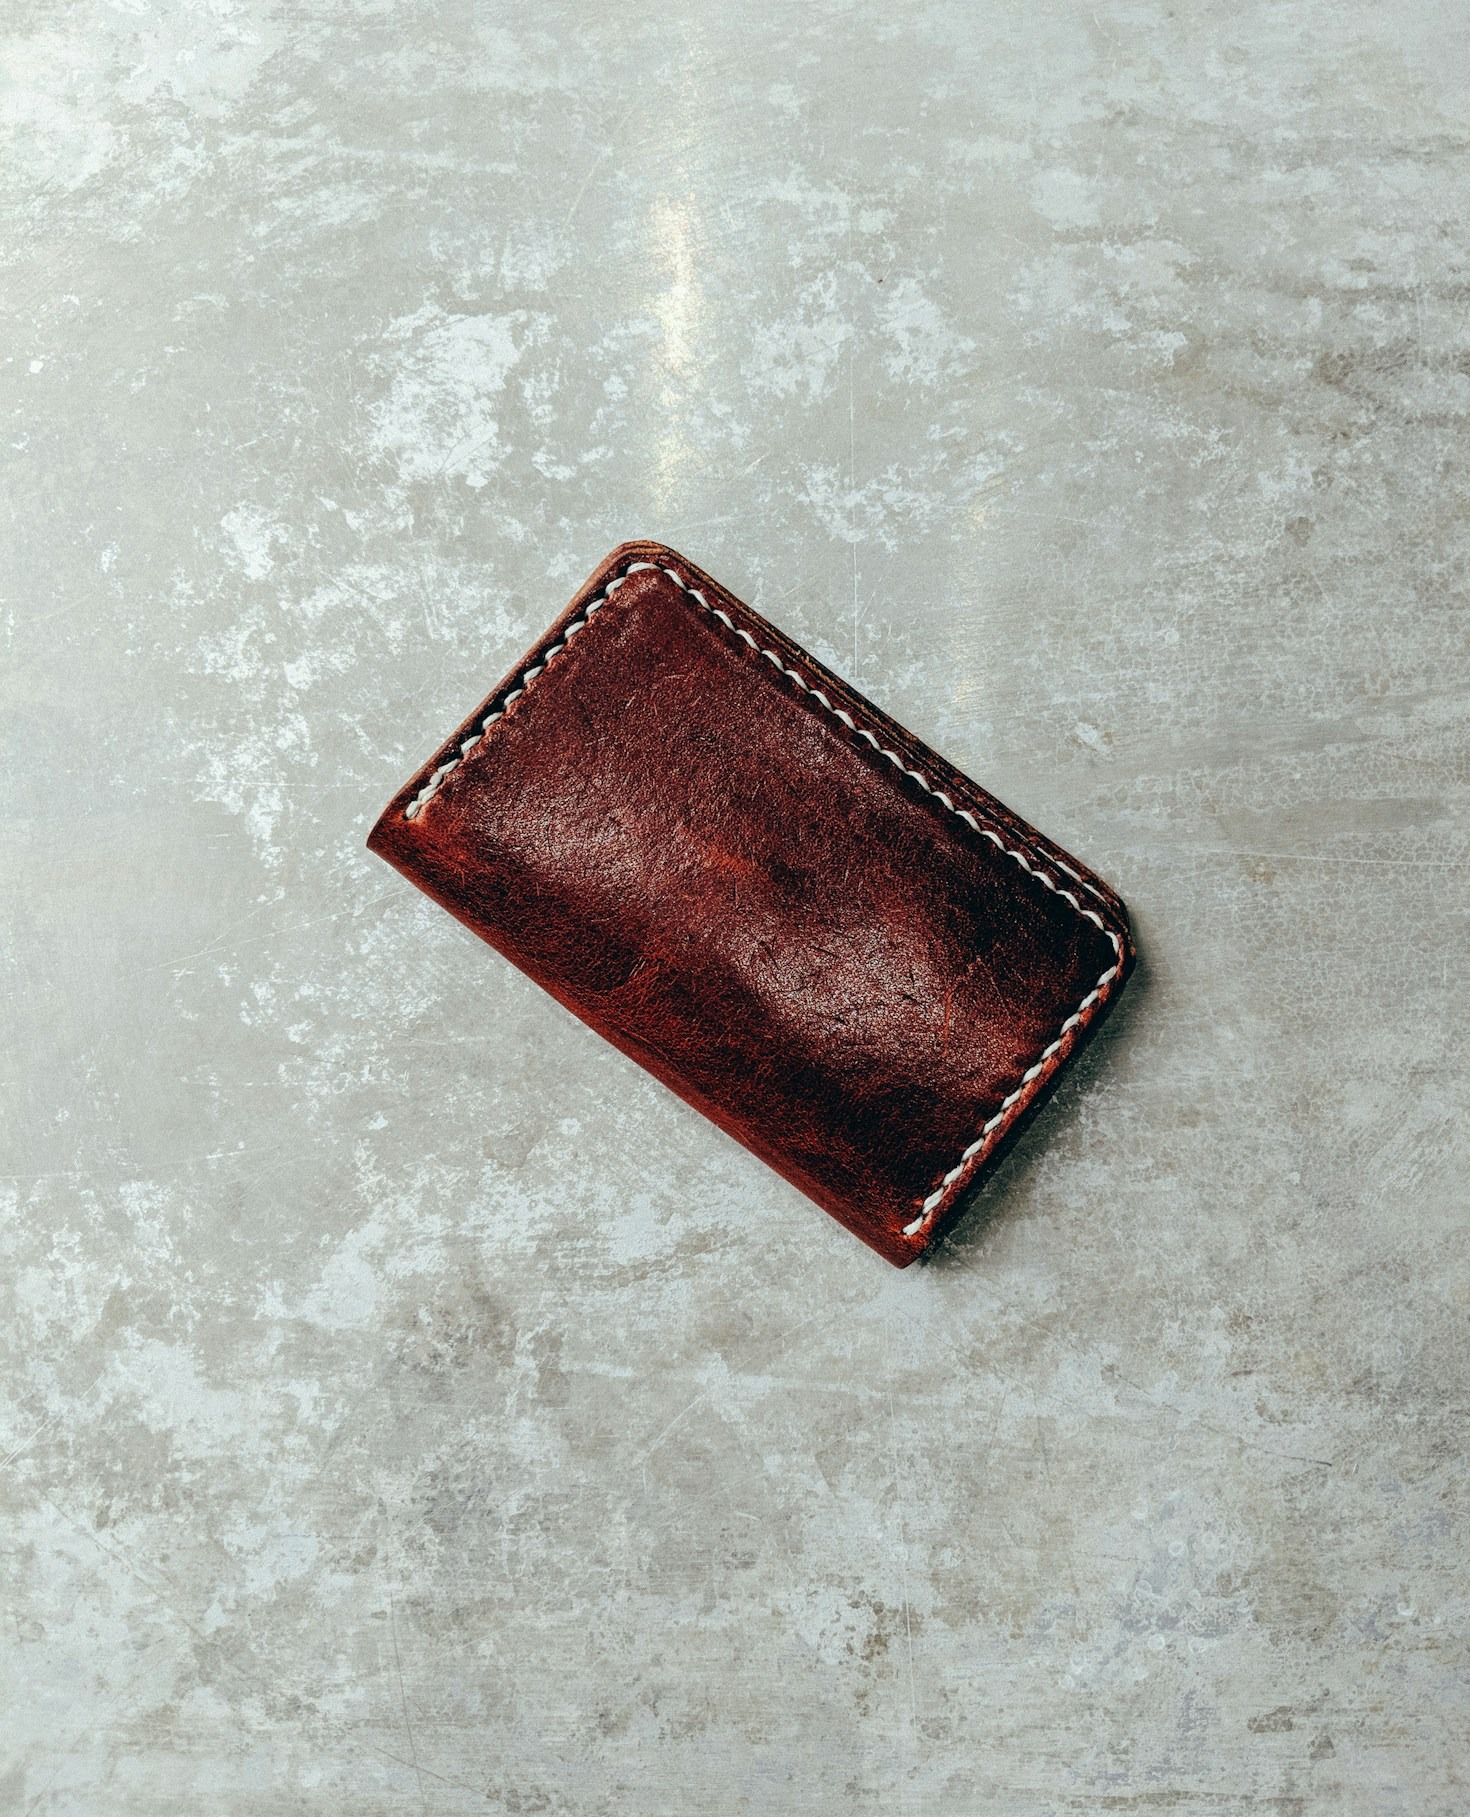
Make something small that uses cutting, stitching, and edge finishing—like a keychain or simple card holder.
What Is Leathercraft (and What Can You Actually Make?)
Leathercraft is just shaping, joining, and finishing leather into useful items.
Leathercraft vs leatherworking
They’re the same thing. “Leatherworking” is just a broader term—you’ll see both used interchangeably.
Beginner-friendly projects
Start with:
- Keychains
- Card holders
- Simple straps
These teach everything you need without overwhelming you.
Skills you’ll reuse forever
Every project uses the same loop:
- Cut clean lines
- Punch stitching holes
- Saddle stitch
- Finish edges
Master those, and everything else builds on it.
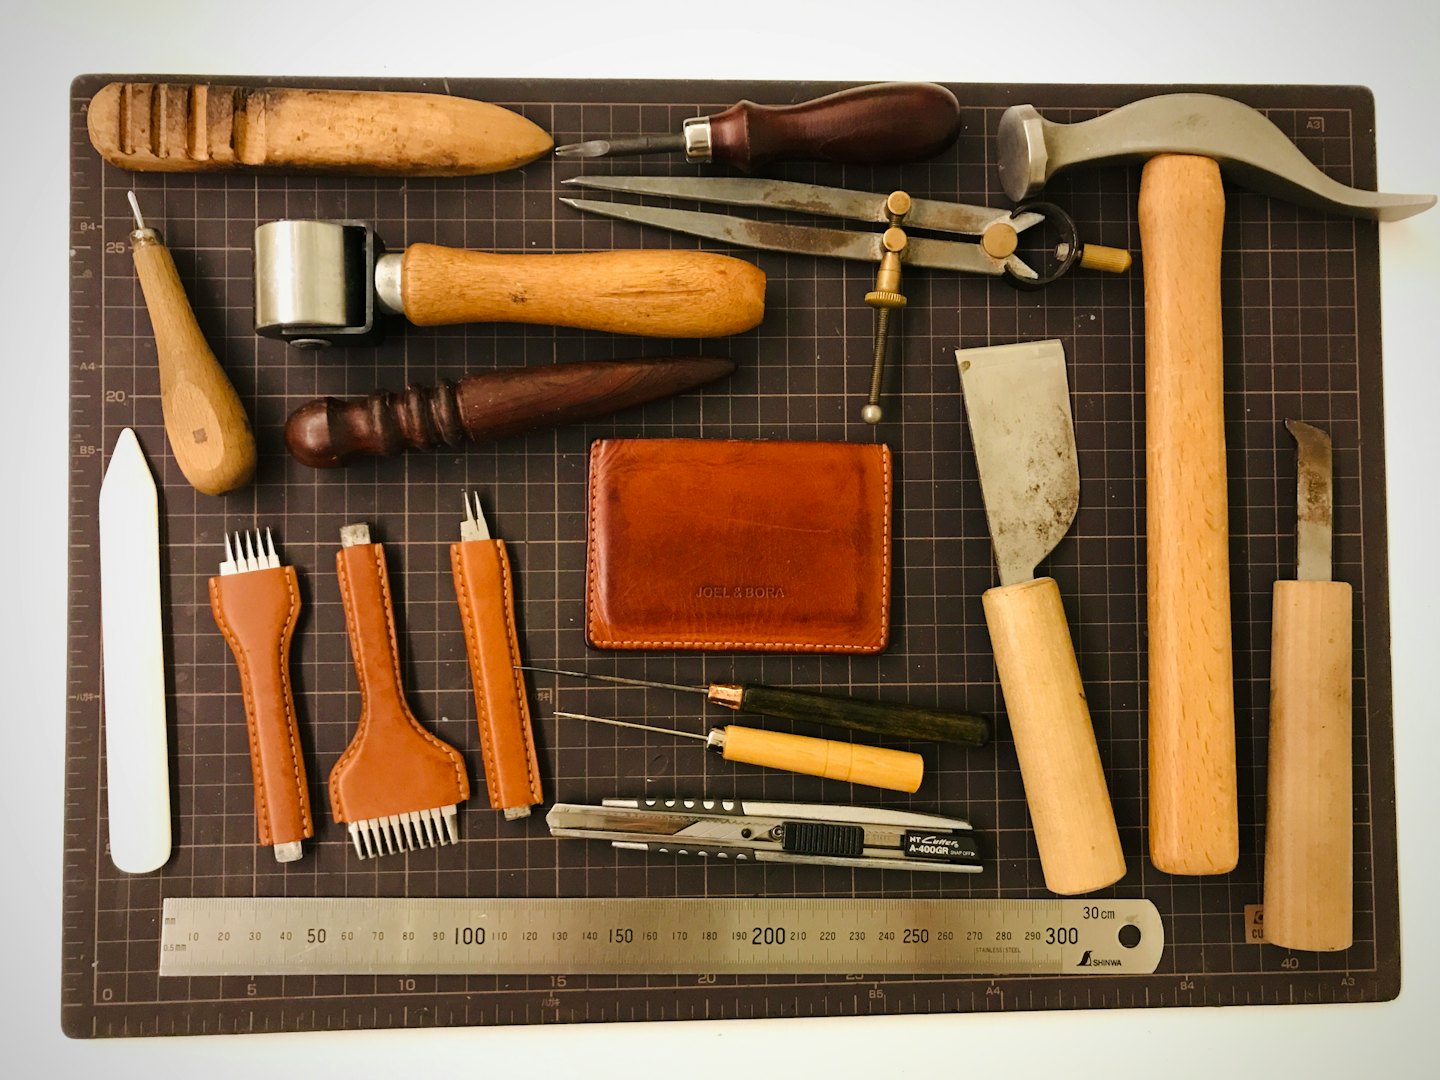
The Beginner Leather Starter Toolkit (What to Buy Now vs Later)
This is where most people overcomplicate things.
You don’t need much—just the right few tools.
Cutting tools (this matters most)
Sharpness matters more than anything. A dull blade will ruin your work faster than anything else.
Hole-making tools (stitching chisels)
You need:
- Stitching chisels (around 4mm spacing is beginner-friendly)
These create evenly spaced holes quickly and cleanly.
Needles and thread
This combo is made specifically for saddle stitching.
Mallet + work surface
- Rubber or poly mallet
- Solid surface (like a poundo board)
This lets you punch holes cleanly without damaging tools.
Edge tools (for that clean finished look)
This is what separates “homemade” from “professional-looking.”
Adhesives (keep it simple)
- Leather glue or contact cement
- Basic clips or clamps
Used to hold pieces together before stitching.
Skip-for-now tools
Don’t buy yet:
- Skiving tools
- Stitching pony
- Fancy stamping tools
They’re useful later—but not needed for your first builds.
The Best Leather for Beginners
Choosing leather is where most confusion happens.
Veg-tan vs chrome-tan (simple version)
- Vegetable-tanned (veg-tan): firm, easy to work, great for beginners
- Chrome-tanned: softer, harder to control and finish
Start with veg-tan. It’s predictable and forgiving.
What leather “weight” means
Leather thickness is measured in ounces (oz).
Beginner ranges:
- 3–5 oz → wallets, card holders
- 4–6 oz → small accessories
- 6–8 oz → keychains, straps
- 8–10 oz → belts
Three easy starter purchases
Pick based on your project:
- Keychain: 6–8 oz leather
- Card holder: 3–5 oz leather
- Strap/belt: 8–10 oz leather
This removes guesswork entirely.
The Beginner Technique Loop (The Only Skills You Need)
Every project follows the same 4 steps.
1. Clean cutting
Use a sharp blade and steady pressure.
Most beginner frustration comes from dull tools—not lack of skill.
2. Punching straight stitch lines
- Keep spacing consistent
- Punch straight down
- Use a firm surface
This determines how clean your final piece looks.
3. Saddle stitching
This is the core stitch in leathercraft.
It uses two needles and creates a strong, durable seam that won’t unravel easily.
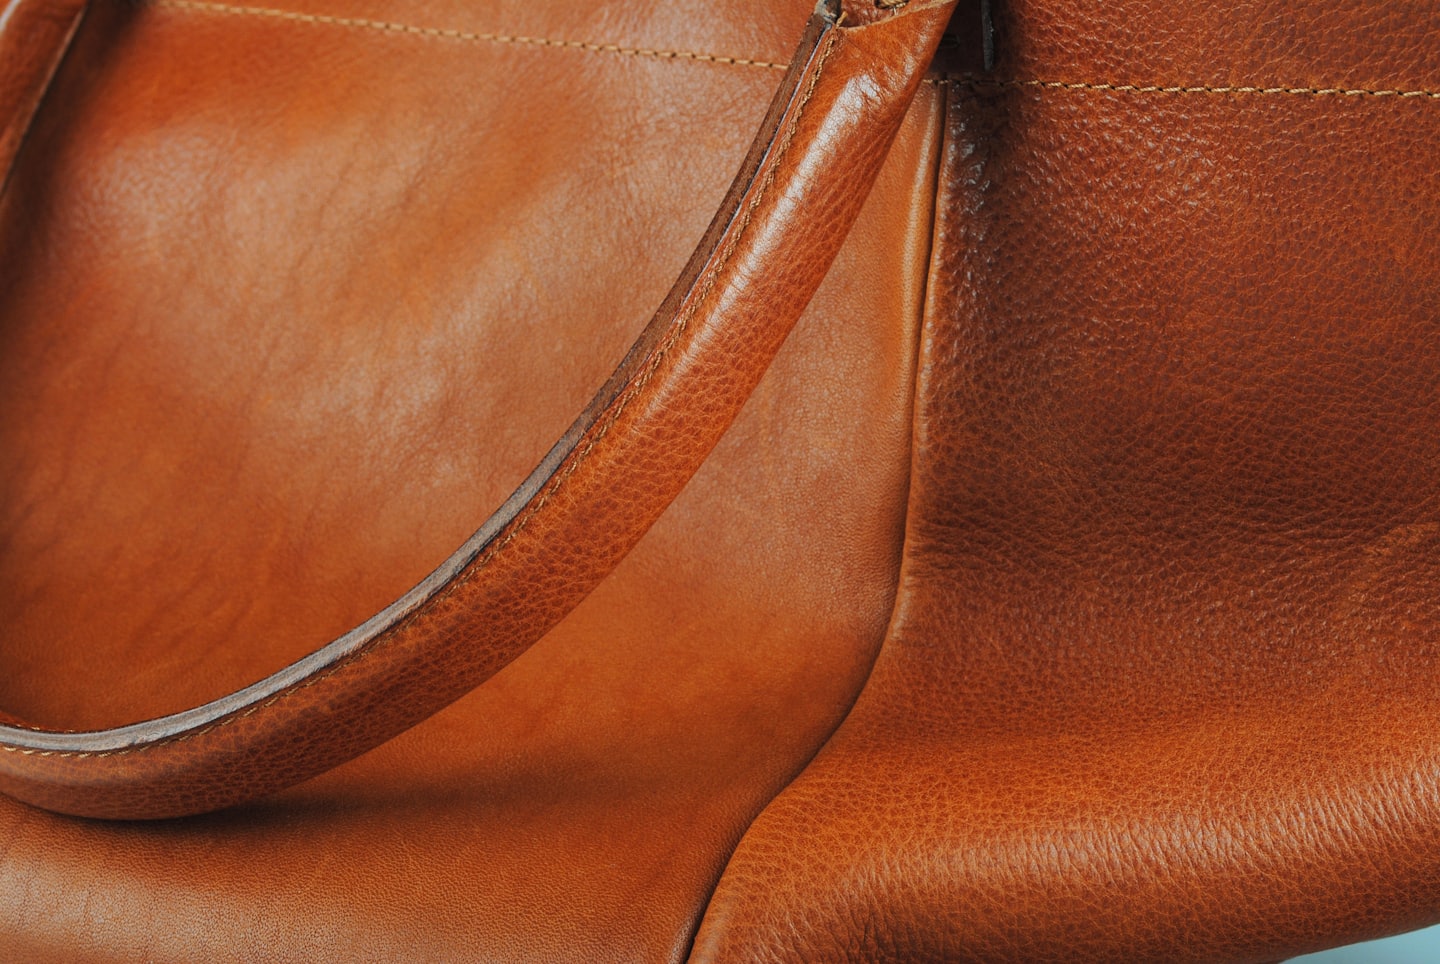
4. Edge finishing (where beginners struggle most)
Steps:
- Bevel the edge
- Apply burnishing compound (Tokonole or gum tragacanth)
- Rub with a burnisher
This smooths and seals the edge.
Your First Project Paths (Pick One)
Don’t overthink this—just pick one and start.
Option 1: Simple keychain
- Leather: 6–8 oz
- Skills: cutting, punching, stitching, edge finishing
- Fast, forgiving, and perfect for your first build
Option 2: Card holder
- Leather: 3–5 oz
- Teaches layering and alignment
- Slightly more advanced, still beginner-friendly
Option 3: Strap-style build
- Leather: 8–10 oz
- Focus on clean cutting and edge finishing
- Great for belts or bag straps
Each path teaches the same fundamentals—you just scale up complexity over time.
FAQ: Beginner Leathercraft Questions
Is leathercraft hard to learn?
Not at the start. The basics are simple and improve quickly with repetition.
What’s the best leather for beginners?
Vegetable-tanned leather—it’s easier to cut, shape, and finish.
What thickness should I buy first?
Match it to your project: thinner for wallets, thicker for straps.
Do I need a stitching pony?
No. It helps later, but you can start without one.
What stitch should I learn first?
Saddle stitching—it’s strong and widely used.
How do I get clean edges?
Bevel, apply burnishing compound, and apply friction.
Should I buy a cheap kit?
Usually no—buy only what you need and upgrade over time.
Next Steps: Build Your Skill Stack
Now that you’ve got your starting point:
- Start your first project
- Learn saddle stitching properly
- Upgrade tools only when needed
If you do that, you’ll progress faster than most beginners.
Leave a Reply